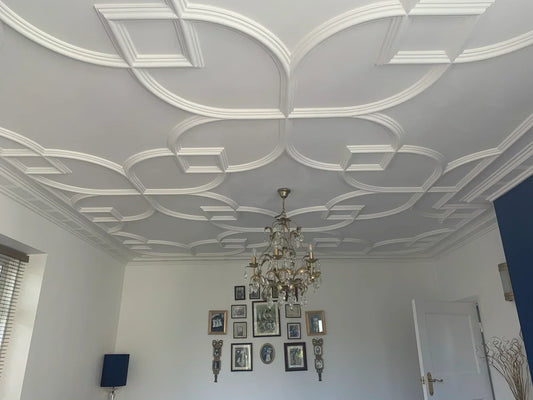
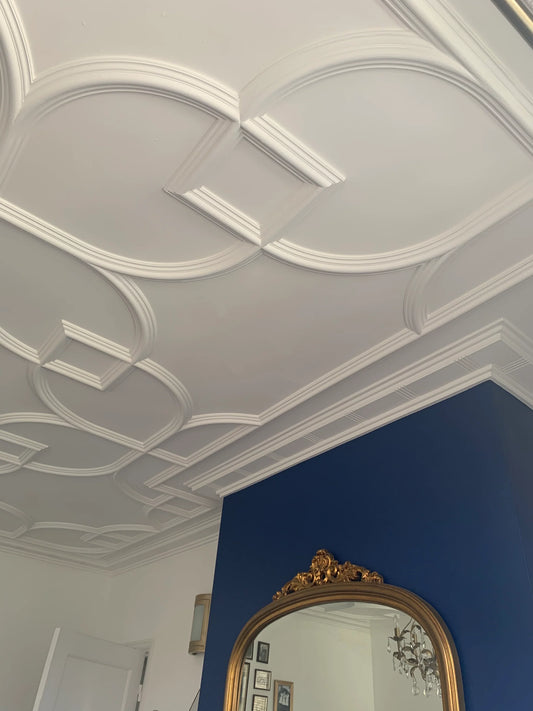
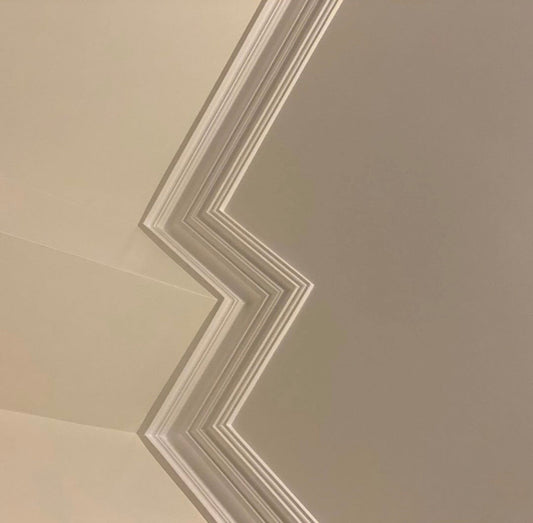
Plaster cornices are a popular choice to enhance the look of a room, as well as add practical benefits like hiding imperfections and increasing the value of your property. Installation can be simple when you know how. So, whether you’re tackling the job yourself or curious about how professionals like Keaneys achieve a flawless finish, this guide will walk you through everything you need to know about how to install cornice.
From essential tools and preparation tips to advanced techniques for those tricky corners, we’ve got you covered. Let’s dive into how to install plaster ceiling cornice.
Tools You’ll Need for Cornice Installation
Before you begin, having the right tools at your disposal is essential to ensuring a smooth and successful project. Here’s a list of tools you’ll need for installing cornices:
- Measuring tape – For precise measurements.
- Pencil – To mark positions on walls and ceilings.
- Spirit level – To ensure your lines are perfectly straight.
- Mitre box and saw – For precise angle cuts, especially at corners.
- Adhesive – Essential for securing plaster cornices; we recommend specialist cornice adhesive.
- Screws or nails – For additional support if required.
- Screwdriver or hammer – To secure the cornice.
- Filling knife or spatula – For smoothing filler and adhesive.
- Sandpaper – To create a flawless finish on joints.
- Damp cloth or sponge – For cleaning excess adhesive or filler.
- Protective floor covering – To protect your floors during the process.
Though it may seem like a lot, using these tools will ensure a stress-free installation process.

Preparing Your Space
Preparation is key when working on how to install a cornice on your ceiling or any other area in your home. Follow these steps to ensure a professional result:
1. Clean and Prepare the Surface
Begin by cleaning the wall and ceiling where the cornice will be installed. Remove dust, grease, or flaking paint to create a smooth, dry surface. This ensures the adhesive bonds properly.
2. Mark the Position of the Cornice
Use a short piece of cornice (about 150 mm) as a template. Hold it in place and mark its depth on the wall and ceiling using a pencil. Ensure these lines are accurate, as they will guide the installation.
3. Use a Spirit Level
Check that your guidelines are level and straight using a spirit level. This step is crucial for achieving a flawless, aligned finish.
4. Protect Your Workspace
Lay down protective coverings to shield your floors and furniture from dust, adhesive, or filler spills.
Techniques for Installing Cornices
Installing cornices requires precision, especially when working with plaster materials. Here’s how to handle the process with confidence.
1. Measuring and Cutting
Start with accurate measurements from corner to corner. Measure the length of the wall where the cornice will be installed, accounting for corners and joins.
Create a Template
Use a small piece of cornice to mark the depth and projection on the wall and ceiling, ensuring a 3 mm allowance for adhesive.
Cut Cornices with a Mitre Box
For clean cuts, especially at corners, use a mitre box and saw. Internal corners require a 45-degree angle cut in one direction, while external corners require the opposite. This tool ensures the precise angles needed for a professional fit.
Test Fit Before Fixing
Place the cornice in position without adhesive to check the fit. Adjust if necessary to ensure the ends align seamlessly.
2. Fixing the Cornice
Once your pieces are cut and ready, it’s time to fix them to the wall and ceiling.
Apply Adhesive Evenly
Use a filling knife or spatula to spread adhesive along the back of the cornice. Apply enough to create a strong bond but not so much that it overflows excessively.
Position the Cornice
Align the cornice with your pencil guidelines. For optimal adhesion, lightly score the wall surface with a sharp knife in a criss-cross pattern. This creates a key for the adhesive to grip onto. Press the cornice firmly into place so that the adhesive spreads evenly. For extra support, use screws or nails to hold the cornice in position while the adhesive sets.
Leave Gaps for Expansion
Leave a small gap of about 6 mm at mitred corners to allow for filler or jointing compound.
Best Practices for Flawless Results
When learning how to install cornice moulding, following best practices can make the difference between an amateur finish and a polished, professional look.

-
Start from a Visible Corner
Begin installation from the corner most visible when entering the room. By starting at a visible corner, you can establish a reference point that helps in aligning subsequent pieces of cornice. This is particularly important because any misalignment can be more noticeable in highly visible areas. -
Work in Sections
Install one section at a time, checking alignment and level after each piece. This prevents errors from compounding as you progress. -
Handle Uneven Walls
For walls that aren’t perfectly straight, consider flexible cornice materials like polyurethane polymer or use extra adhesive to fill gaps. -
Sand for a Smooth Finish
After filling joints, sand the surface smooth before painting for a seamless appearance. -
Leave a Gap for Expansion
Always leave a 3 mm gap between cornice sections to allow for slight movements caused by temperature changes.
Finishing Touches
A key part of plaster cornice installation is the finishing stage. Here’s how to perfect the details:
Fill Gaps and Joints
Use a high-quality filler or jointing compound to fill gaps, particularly at mitred corners. Smooth the filler with a spatula or damp sponge, ensuring it blends with the cornice surface.
Sand the Joints
Once the filler is dry, sand the joints until they’re smooth for a flawless finish. Use fine-grit sandpaper (150 grit or finer) to avoid damaging the plaster.
Paint the Cornice
Apply a coat of diluted emulsion paint to the cornice. This helps seal the plaster and creates a professional finish. Match the paint colour to your room’s décor or choose a contrasting shade for a bold look.
Tips for Challenging Spaces
Certain spaces, such as kitchens or irregularly shaped rooms, can pose challenges when learning how to install plaster cornice mouldings or tackle tight corners. These tips will help you navigate tougher installations:
-
Take Multiple Measurements
Irregular spaces may require additional measurements to ensure accuracy. -
Use Coping Techniques
For tight corners, coping involves cutting the back of the cornice to fit snugly against the adjoining piece. -
Choose Lightweight Cornices
Lightweight materials are easier to manoeuvre in tight or high spaces. -
Test Fit Pieces
Always dry-fit pieces before applying adhesive to avoid mistakes.
Why Choose Keaneys for Cornice Installation?
While DIY can be rewarding, achieving a flawless finish requires experience and skill. That’s where Keaneys comes in. Since 1987, we’ve been London’s leading specialist in decorative plasterwork, offering full in-house design, supply, and installation services.
Our expert team handles everything we’ve walked through, from precise measurements to intricate detailing. Whether you need cornices for a kitchen ceiling or ornate mouldings for a living room, Keaneys ensures a professional finish every time.
Conclusion
In conclusion, installing cornices is a rewarding way to include intricate details in your home, but the process requires the right tools, techniques, and attention to detail. We always suggest professional installation to ensure your cornice looks great for years to come.
Contact Keaneys today, and let our experienced team bring your vision to life with stunning, handcrafted designs. Book your consultation today.


